
In this tutorial, we will walk through the process of enabling Remote Desktop Protocol (RDP) on an Ubuntu system using xrdp. RDP allows you to remotely access your Ubuntu desktop environment from another computer, which can be useful for various administrative tasks or remote troubleshooting. We’ll guide you through the installation and configuration of xrdp to achieve this.
Prerequisites:
- An Ubuntu system (tested on Ubuntu 20.04).
- Administrative access to the Ubuntu system.
Step 1: Update Package Repository
Before we begin, it’s a good practice to ensure your package repository is up-to-date. Open a terminal and run the following commands:
sudo apt update && sudo apt upgrade
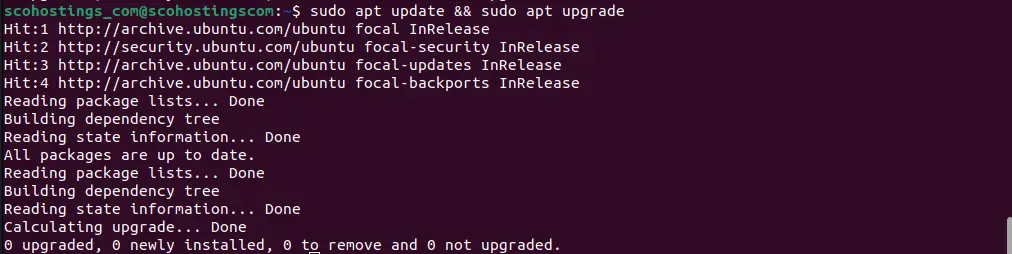
This will update the package lists and upgrade any installed packages to their latest versions.
Step 2: Install xrdp
To install xrdp, you can use the following command:
sudo apt install xrdp
During the installation, you may be prompted to confirm the installation. Type “Y” and press Enter to proceed.

Step 3: Start xrdp Service
After the installation is complete, start the xrdp service with the following command:
sudo systemctl start xrdp

You can also enable it to start at boot:
sudo systemctl enable xrdp

Step 4: Configure Remote Desktop Session
By default, xrdp uses the XFCE desktop environment. If you don’t have it installed, you can install it using the following command:
sudo apt install xfce4

Next, create a symbolic link to make XFCE the default session for xrdp:
echo xfce4-session > ~/.xsession

Step 5: Configure Firewall
If you have a firewall enabled on your Ubuntu system, you need to allow RDP traffic through. By default, xrdp uses port 3389. You can allow this port using the ufw firewall tool:
sudo ufw allow 3389/tcp

Step 6: Verify the Status of xrdp
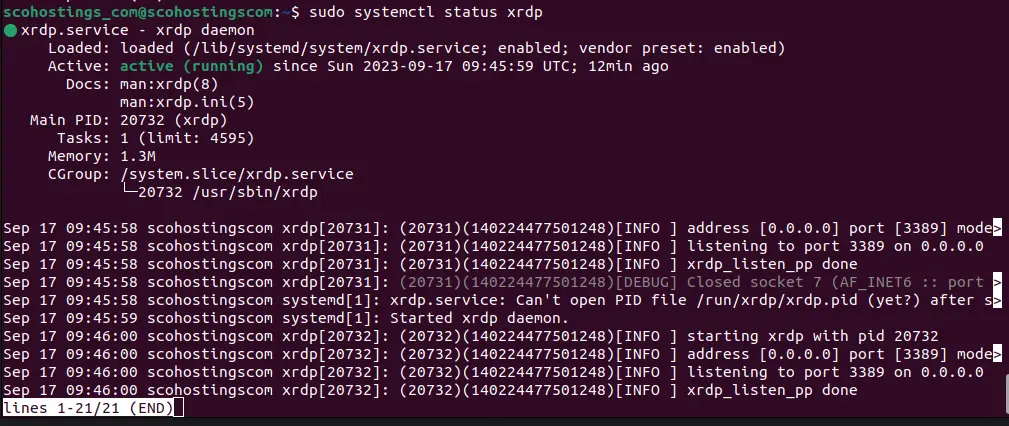
To check if xrdp is running and listening on the correct port, use the following command:
sudo systemctl status xrdp
You should see a status message indicating that the service is active and running.
Step 7: Connect to Ubuntu via RDP
Now that xrdp is set up, you can use an RDP client on another computer to connect to your Ubuntu system. Open your RDP client, enter your Ubuntu machine’s IP address or hostname, and use your Ubuntu account’s username and password to log in.
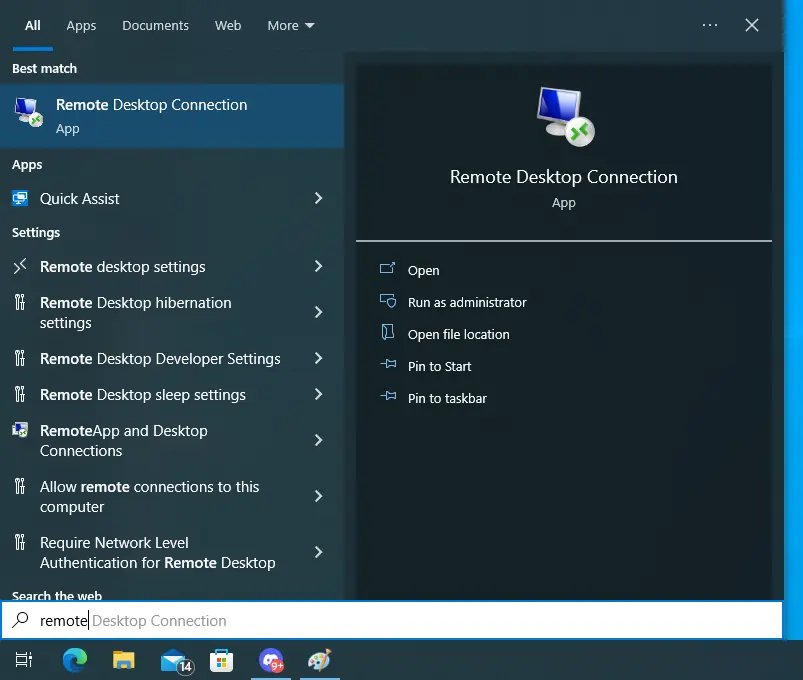
Testing the RDP connection from Windows
Click on start menu and search Remote Desktop Connection.
Input your Ubuntu 20.04 machine into the Computer box.
Input your Ubuntu 20.04 machine username into the User name box.
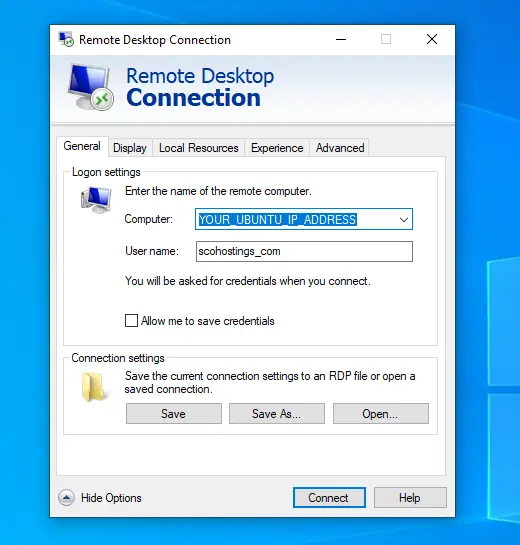
Now click the Connect button.
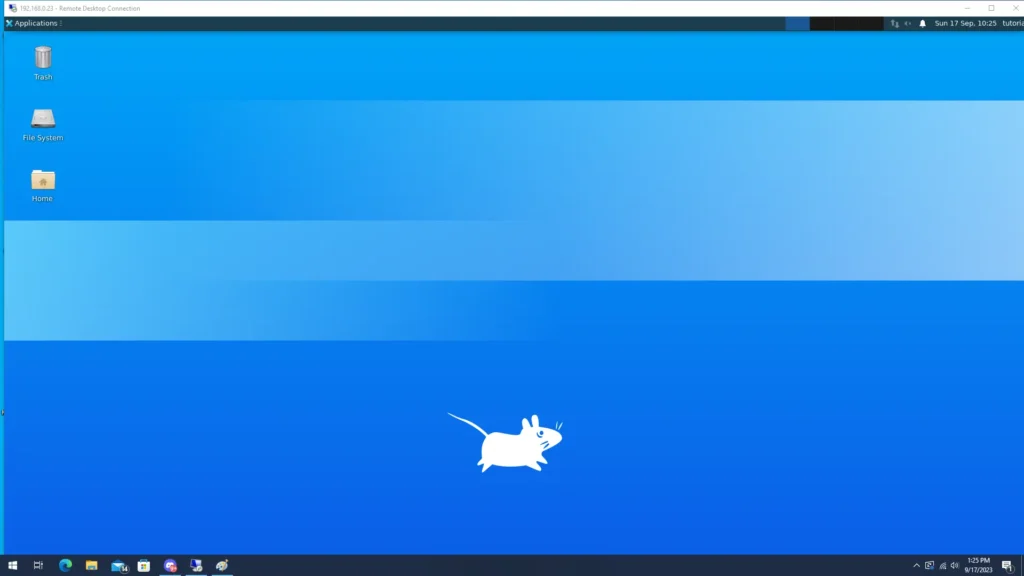
Now you should be able to access your Ubuntu 20.04 machine.
Step 8: Additional Configuration (Optional)
If you want to customize your xrdp session further, you can edit the /etc/xrdp/xrdp.ini configuration file. This file allows you to tweak settings such as screen resolution, color depth, and more.
sudo nano /etc/xrdp/xrdp.ini
Make your desired changes, save the file, and then restart the xrdp service:
sudo systemctl restart xrdp
Congratulations! You have successfully enabled RDP on your Ubuntu system using xrdp. You can now access your Ubuntu desktop remotely from other computers using an RDP client.
Remember to use this feature responsibly and ensure that you have proper security measures in place, such as strong passwords and firewall rules, to protect your Ubuntu system.